Presenter by WorshipTools supports importing Google Slides, which can be useful for announcement and/or sermon slides. And when the slideset is updated in Google Slides, changes can easily be synced back into Presenter.
Importing Google Slides Into Your Slides Library
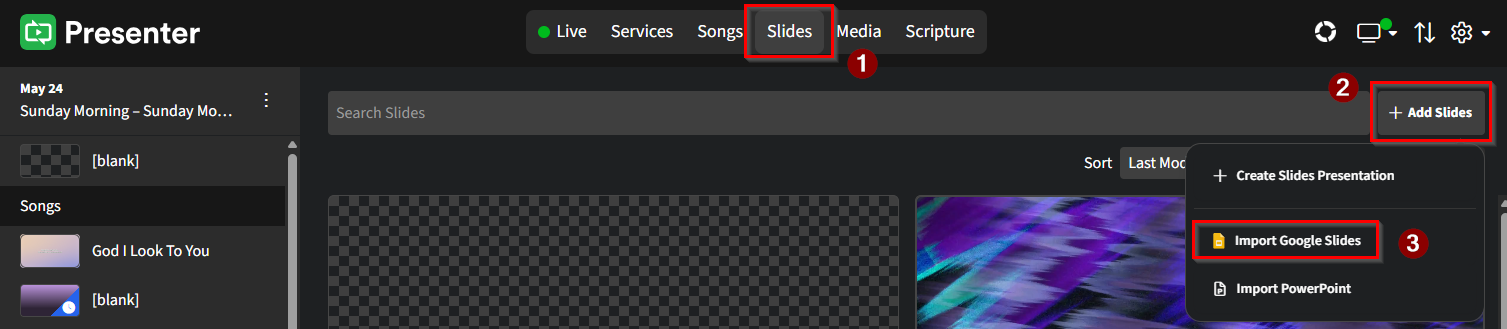
To add a Google Slides presentation to Presenter, first click on Slides from the command bar, then click on + Add Slides, and then select Import Google Slides from the dropdown.
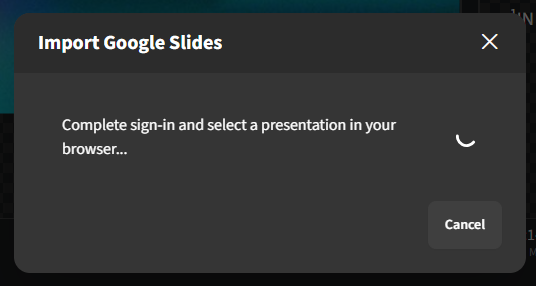
This pop-up window will display within Presenter
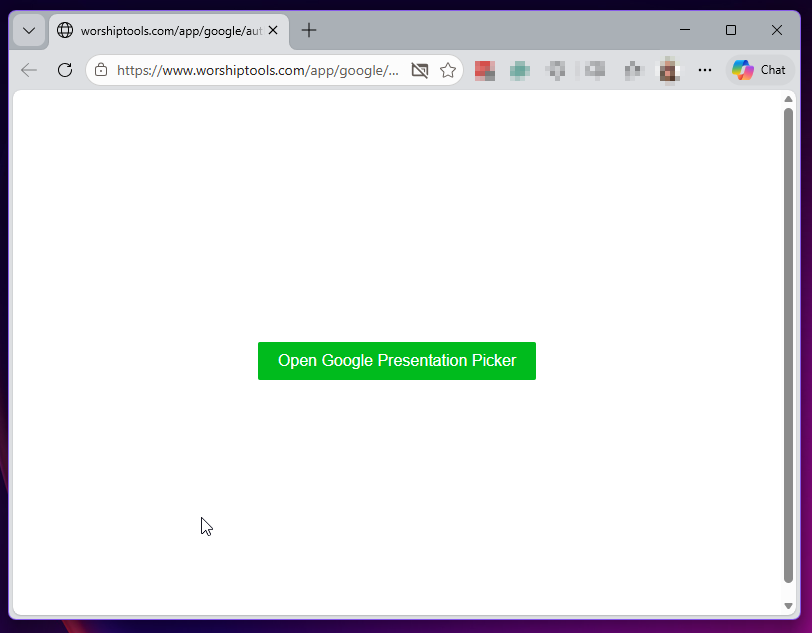
Additionally, your default browser should display an option to Open Google Presentation Picker. Click the green button if you have pop-ups disabled in your browser, otherwise continue to the next step.
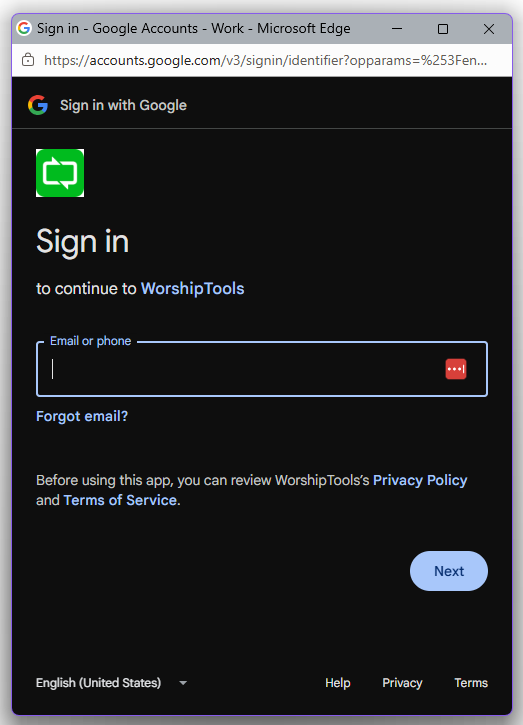
Log in to your Google account through this pop up
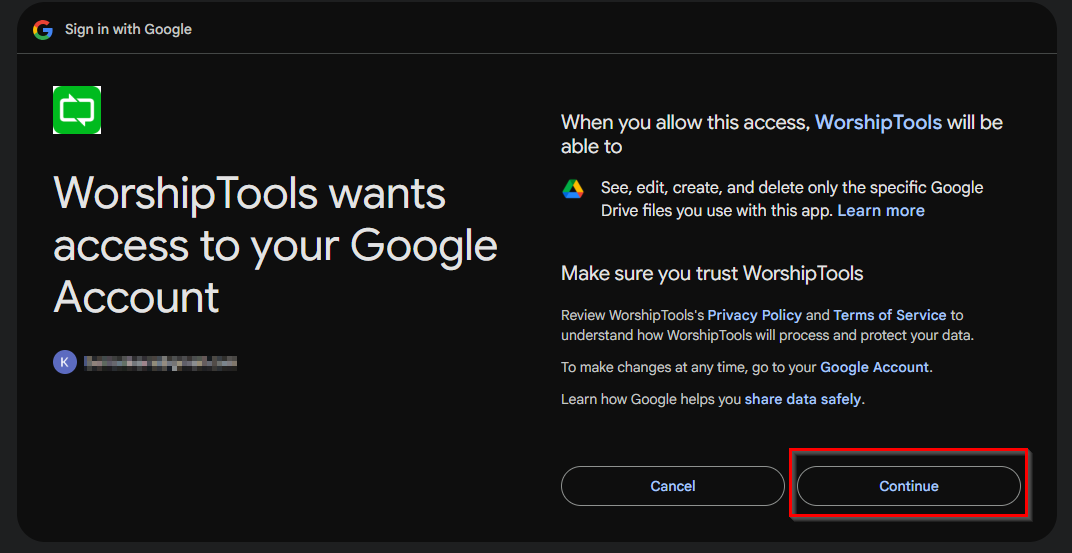
Confirm you are granting permission for WorshipTools access. Click Continue when you are ready.
Once the connection is established, a Google Drive folder will display. Select the specific file from the directory by clicking on the desired presentation and then clicking Select.
Your browser will confirm to reconnect to Presenter. Once you have returned to Presenter, the file import status will show in the bottom righthand corner, and appear in your Slides library.
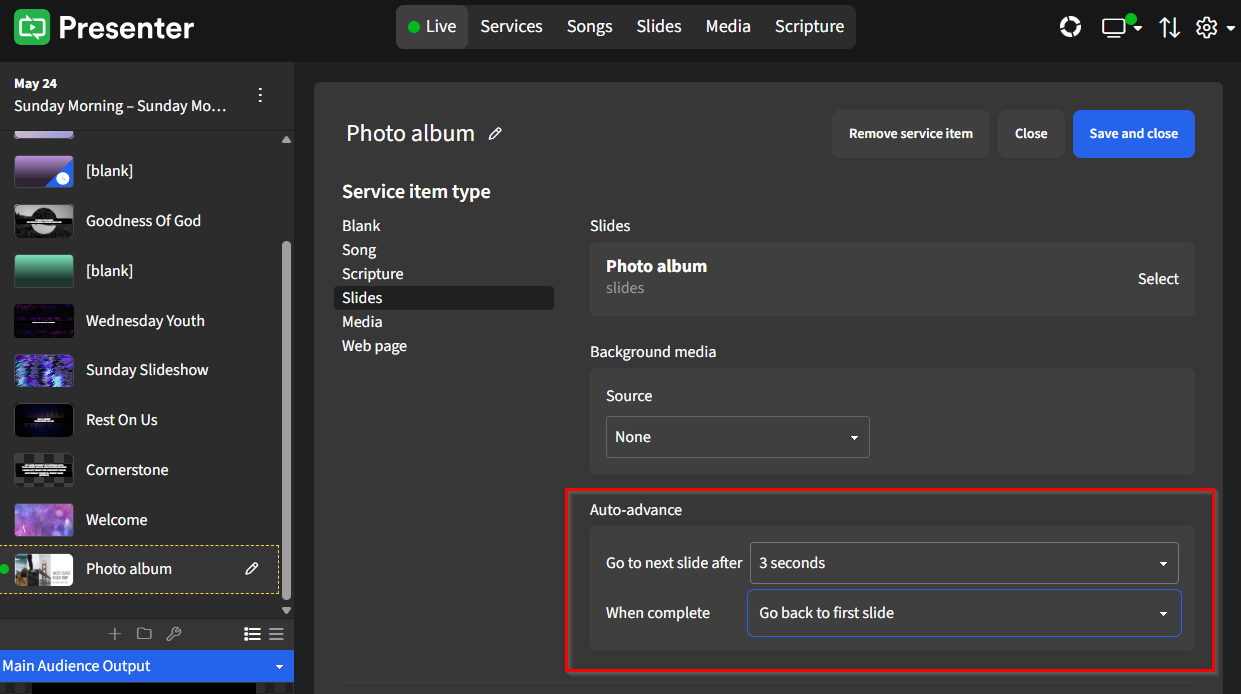
Auto Advancing (Scrolling) Slides
Google Slides is a great option for setting auto-advancing slides. Auto Advance tells Presenter to scroll through a set of slides without manual intervention and is most commonly used for pre-/post-service announcement loops.
To set the Auto Advance feature on your Google Slides, first add your slide presentation to a new service item. Then, in the Auto Advance options, select the length of time you want each slide to stay on the screen, as well as instruct Presenter on what to do when the presentation completes a lap. You can either select Do nothing, which will just leave the presentation on the last slide of the Google Slides set, or you can select Go back to first slide, which creates an ongoing loop until someone manually stops the loop by clicking on another service item.