When working with lyrics slides in WorshipTools Presenter, you can assign slide labels and colors to each of the different song sections (i.e. Verse 1, Chorus, etc.). While it's not necessary to use these labels, they can be a helpful visual aid for your slides operator when they're controlling slides during a service. They also come in very handy when you're adjusting the line breaks on a song, as it allows Presenter to reorganize the song slides more intuitively.
By default, Presenter comes with labels and colors for Chorus, Bridge, and Verses 1 through 4. To customize these labels and make them work for your ministry, you can go into your Presenter ⚙ Settings > Slide Labels. Once there, you can rename your labels, create or remove labels, change the color assignments, and even adjust the keyboard shortcuts for each section. Just make sure to hit Save after making any changes here.

Applying Slide Labels to Songs
Once you set up your labels on the settings page, you can then assign these labels to different song sections when editing songs. Simply open up the song you'd like to edit, click a song section from the right column, then click the Slide label dropdown to assign a label. In the example below, Verses 1 and 2 have been assigned their respective labels, while Verses 3 and 4 have not been assigned any labels yet.
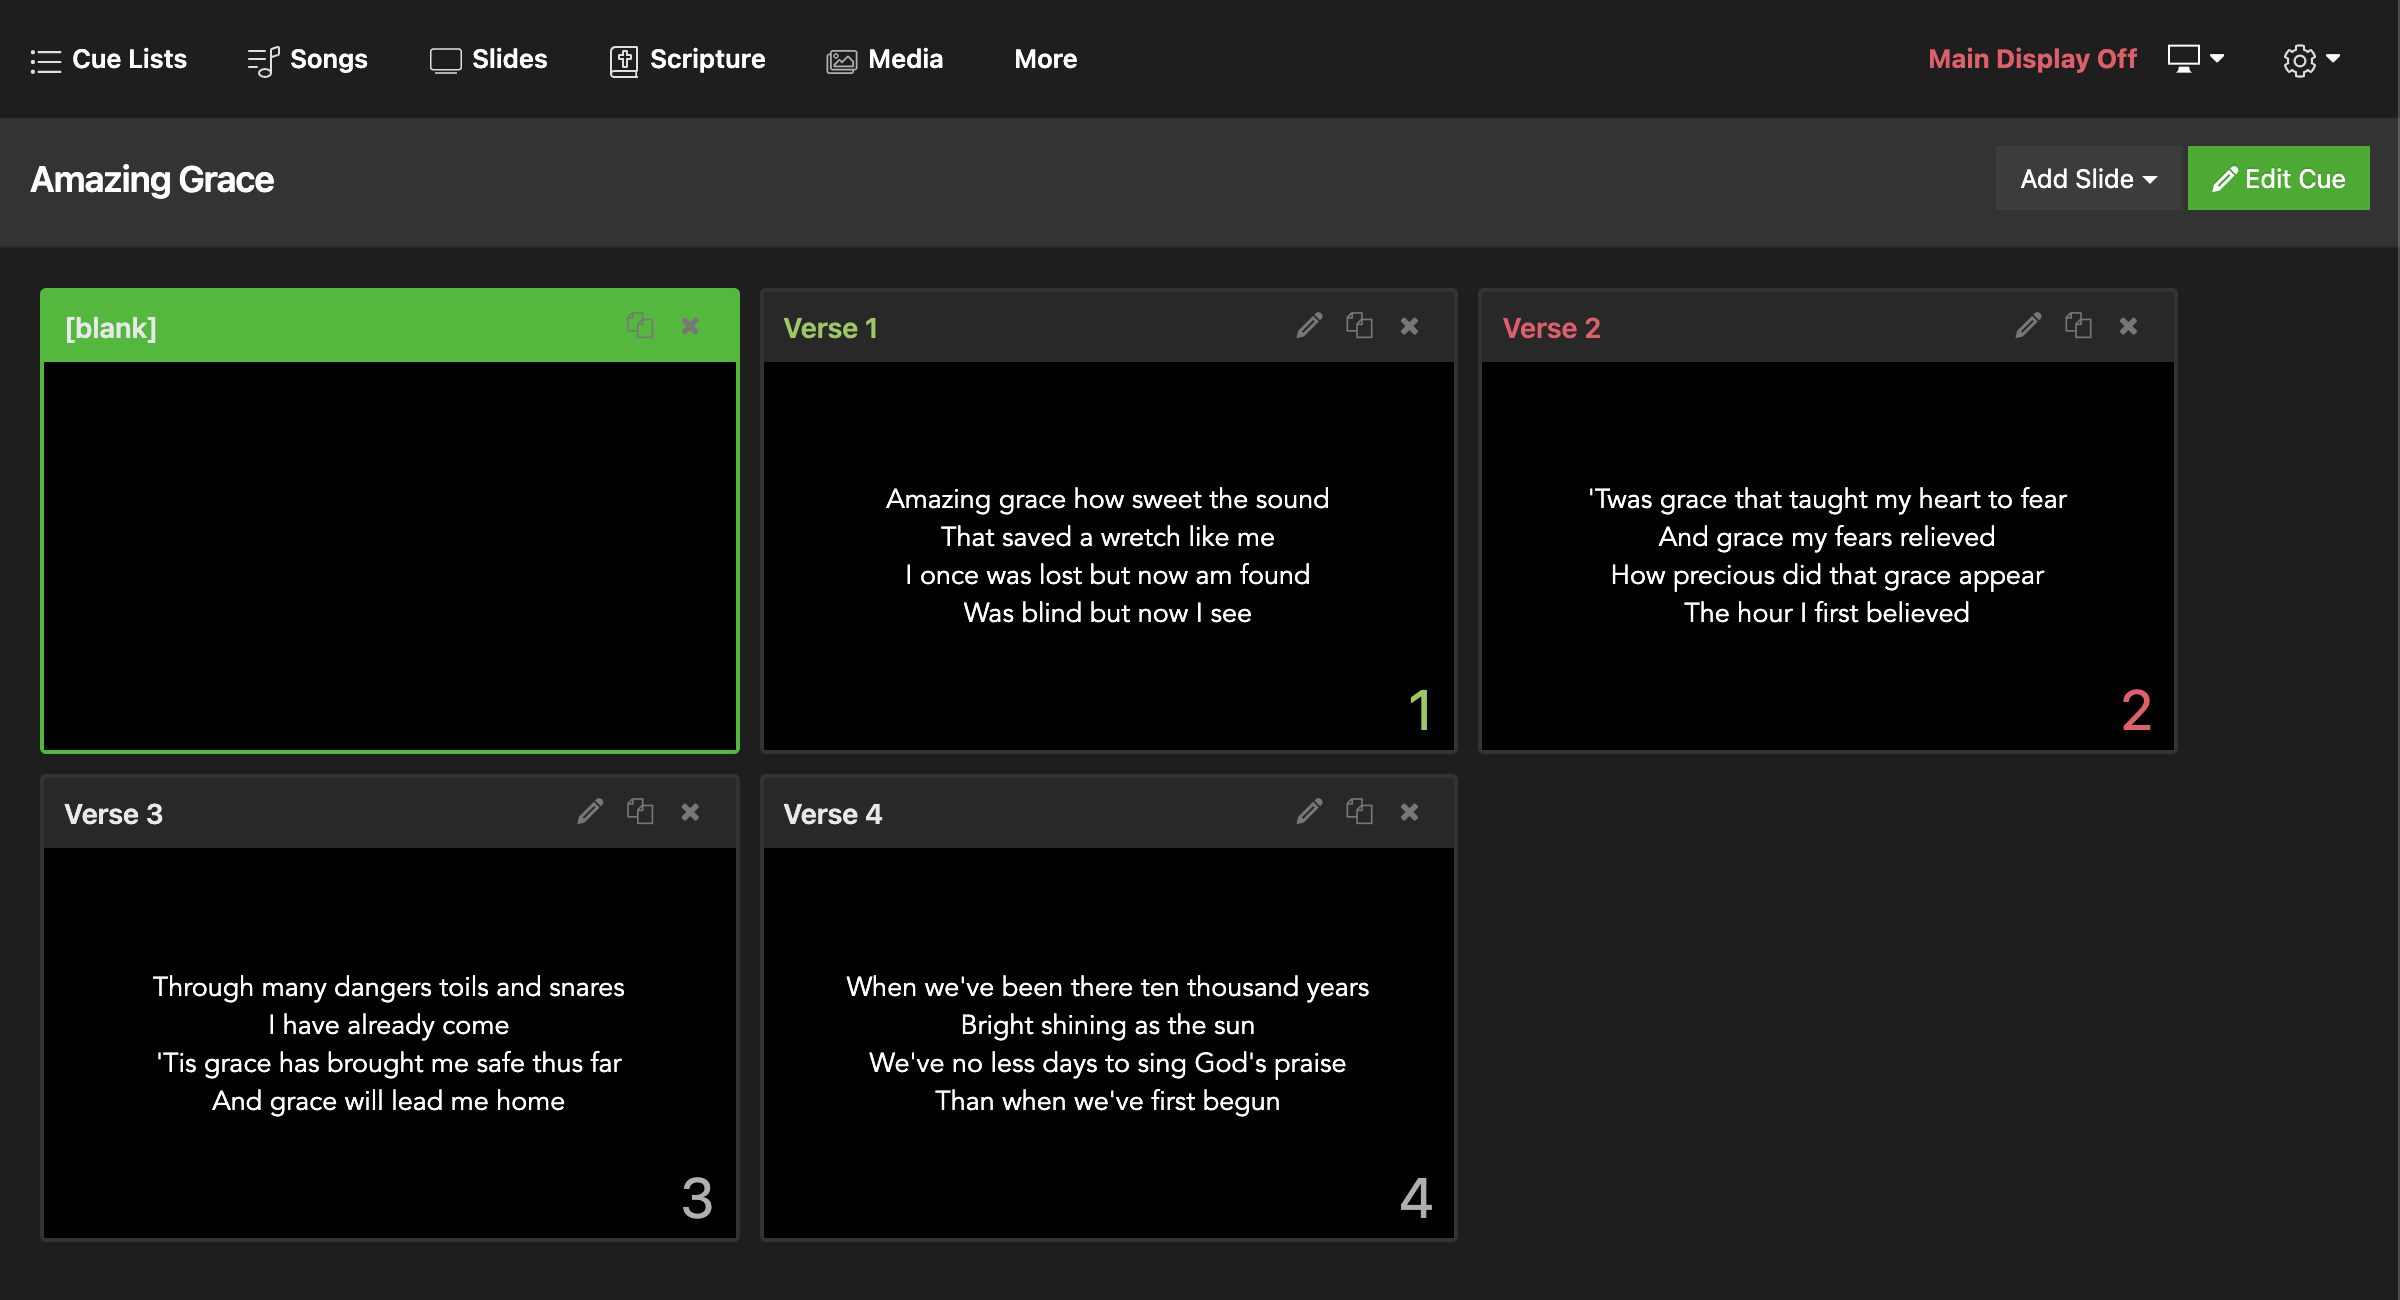
 After you Save your changes, the slide labels, and colors will be visible when you add that song to a service. Again, notice that Verses 1 and 2 have labels and colors assigned, whereas Verse 3 and 4 do not.
 Slide labels can be assigned to multiple slides in a lyrics set, so if your ministry likes to split up sections to show fewer lines per slide, you may assign labels to those relevant slides as depicted in the example image below.
