Service Order
One of the main functions of Planning is to assist you in organizing your weekly services. To simplify this process, any changes you make to a service in Planning will automatically sync with the WorshipTools Presenter and Charts apps, provided that all devices are connected to the Internet.
To start assembling a service in Planning, select Services from the navigation menu. You can either open an existing service or create a new one. When you first access a service, you will land on the Order tab.
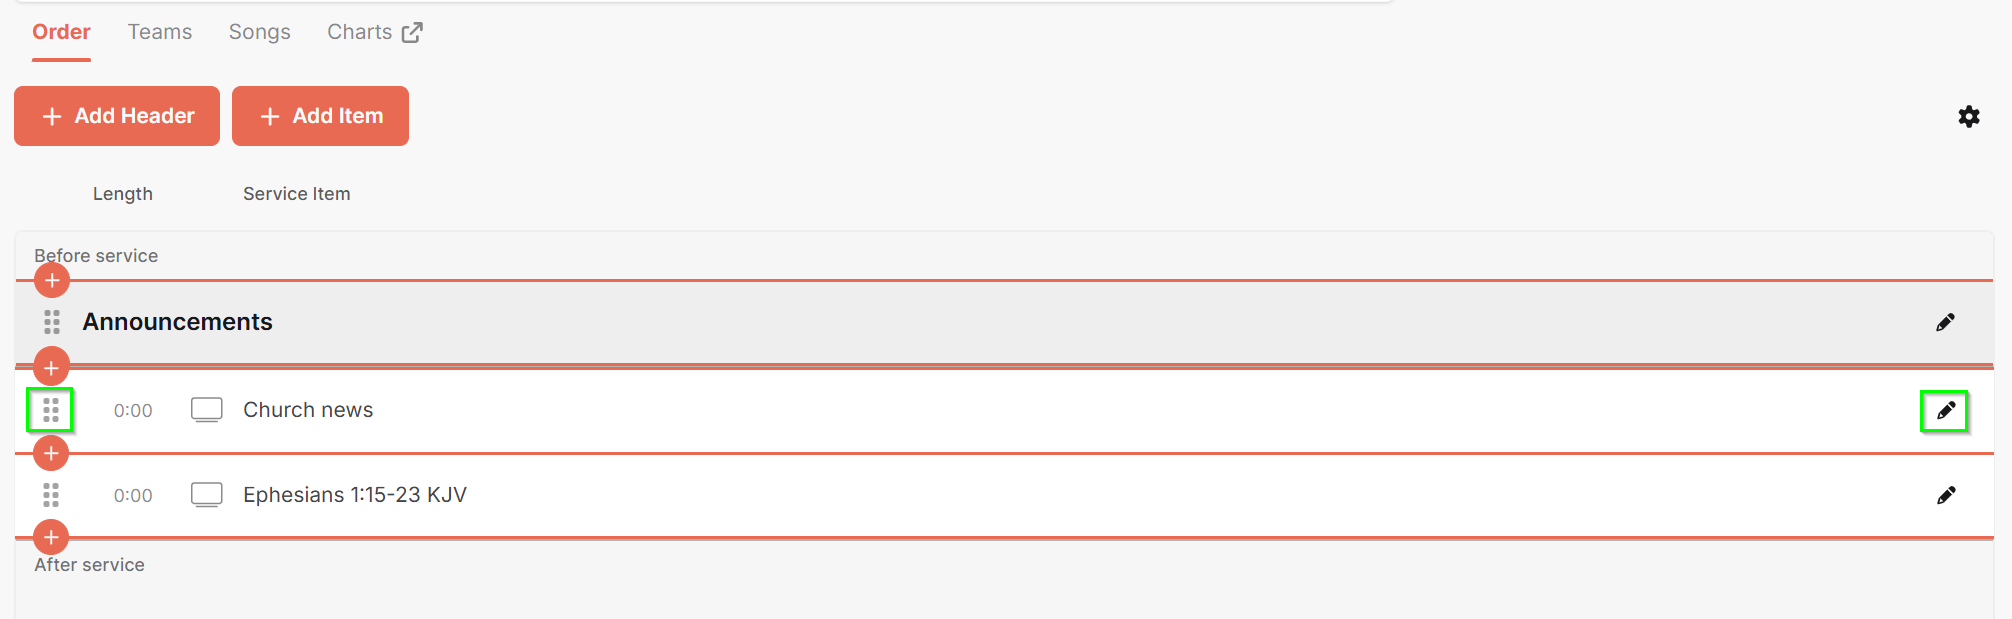
Under the Order tab, you can customize your service by adding Headers and Items. Headers are useful for grouping specific items together and visually organizing the service. Importantly, these Headers do not count towards the 15-item limit imposed by the Free plan.
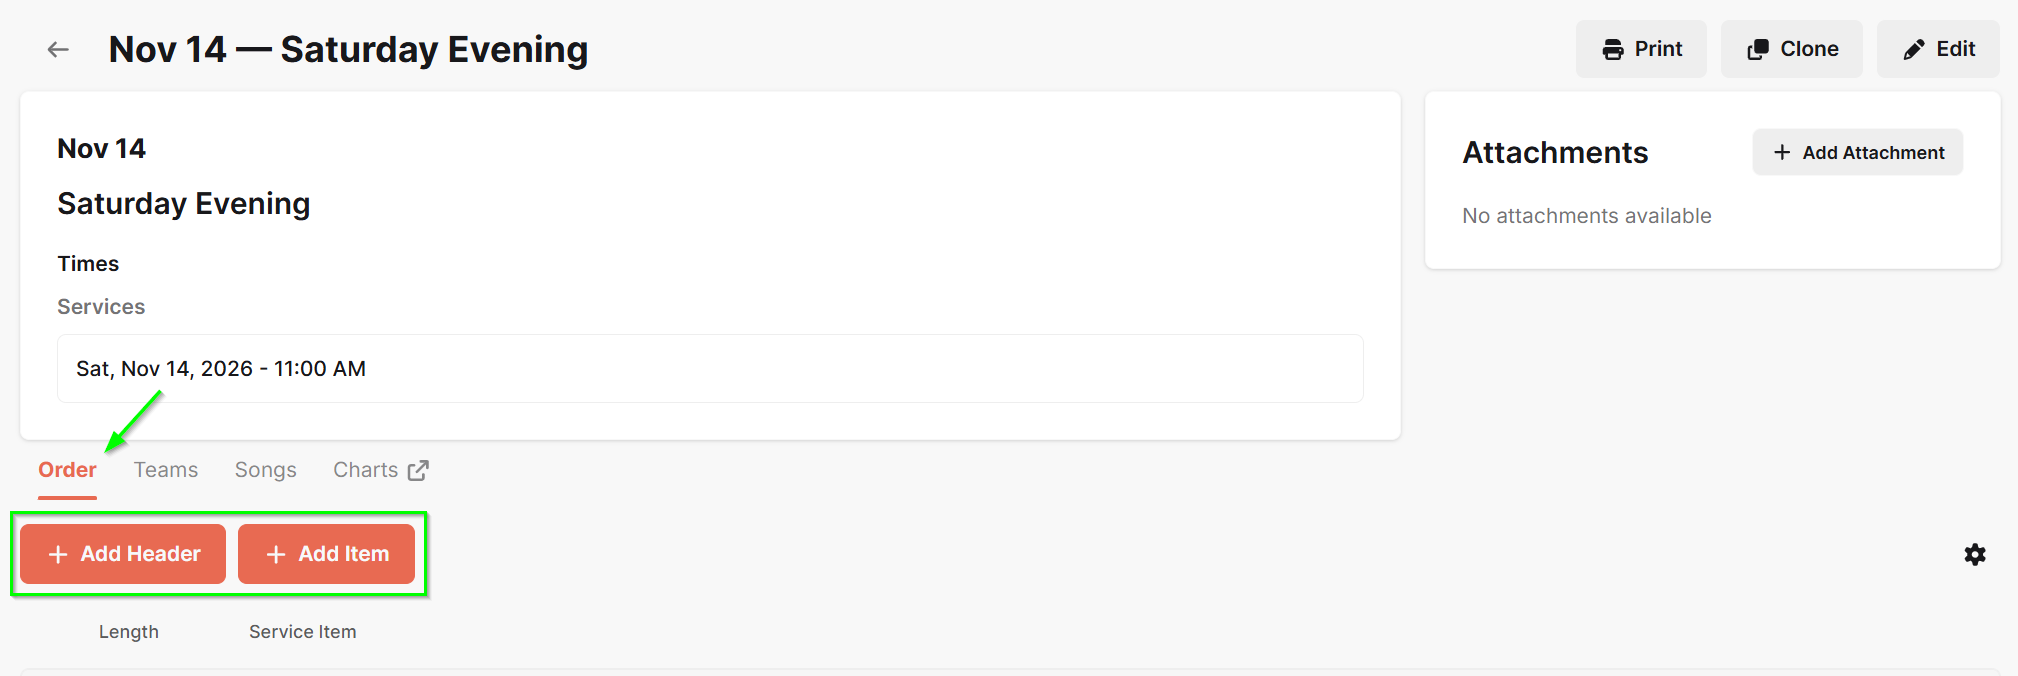
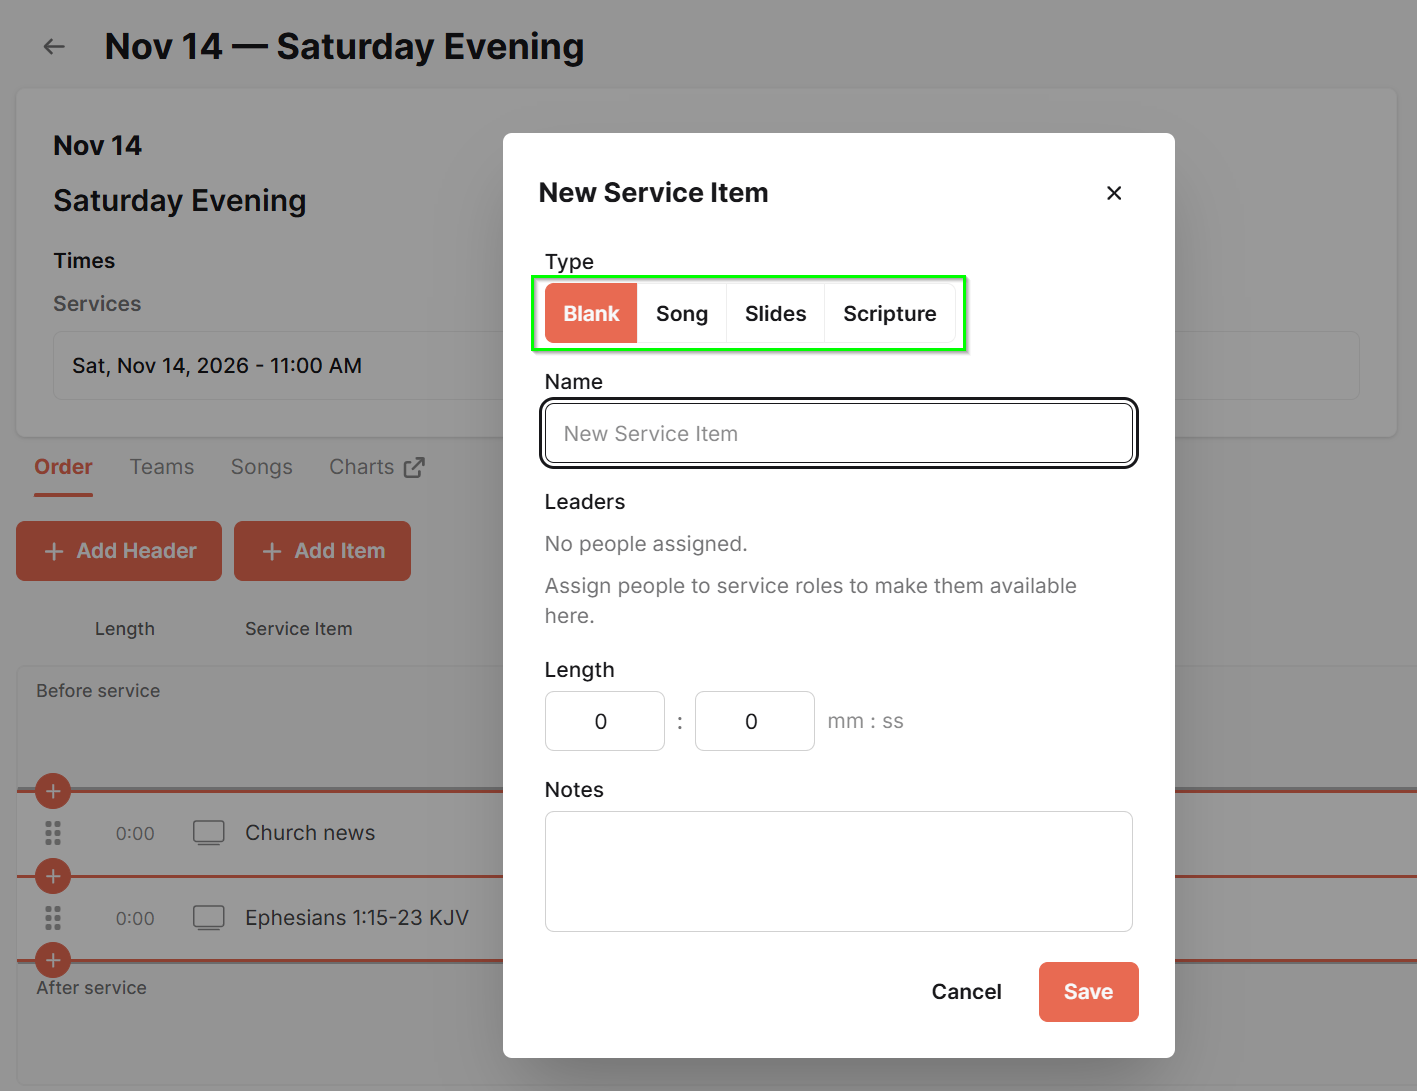
Items are the actual content of the service and can be designated as Blank, Song, Slide, or Scripture items in Planning. Items can be customized even further in the Presenter app with videos, PowerPoints, web links, etc.
To add a Blank, Song, Slide, or Scripture item to the service, click the + Add Item button and select the item type.
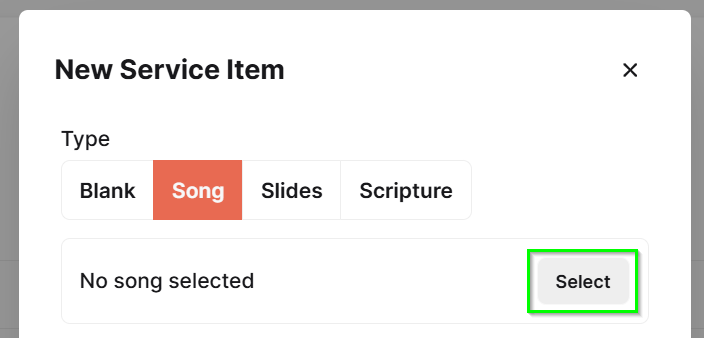
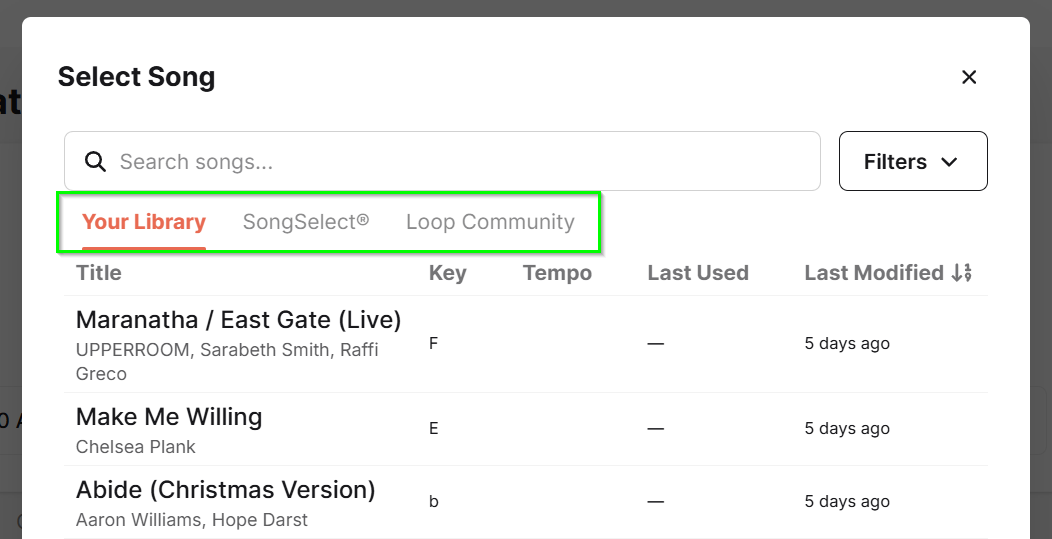
When adding a song, click Select to choose a song from Your Library, SongSelect, or Loop Community. Once a song is added to the service, all associated lyrics, chord charts, custom attachments, and media for that song will be accessible under the Songs tab and in the Charts app.
When choosing the Slides item type, you can only select from Presenter Slides that have already been created and saved in your Presenter Slides Library. Similarly, for Scripture items, you can only select from the official Bible translations offered by WorshipTools that are available in your account.
To rearrange items on the service order, click and hold the 6-dot icon located on the left side of the item, then drag it to your desired location. To edit or remove an item from the list, click the pencil icon button on the right. Additionally, you can choose to show or hide specific items in each application. For more information, please refer to the "Show All Items" View Option article.